Instructions
Clavion Acoustic DS Manual
May 2025
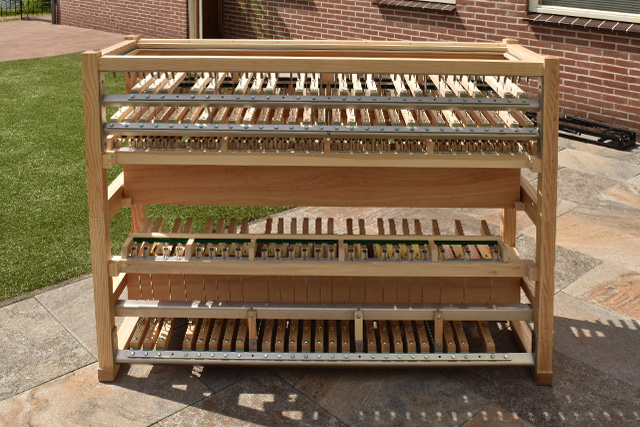
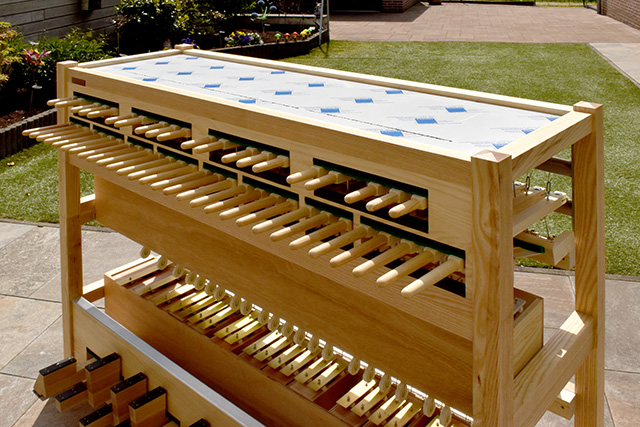
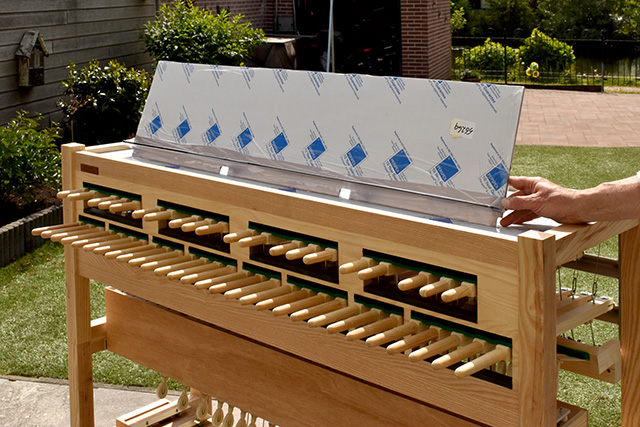
Congratulations on purchasing a Clavion Acoustic DS. To correctly assemble or disassemble the Clavion, follow the steps below. (Click on a photo to enlarge it) Or watch the instructional videos at the bottom of this page.
Step 1: Remove the Clavion from the packaging.
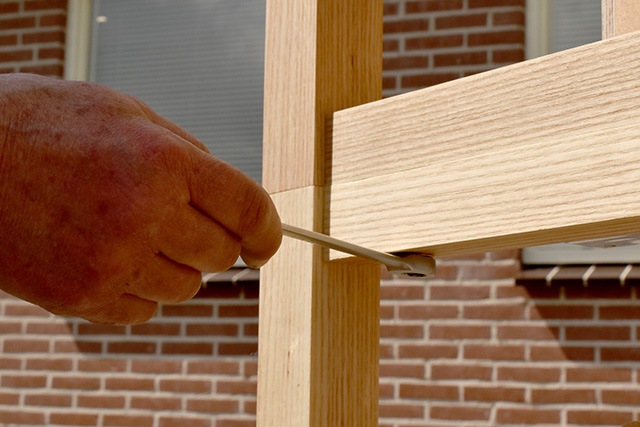
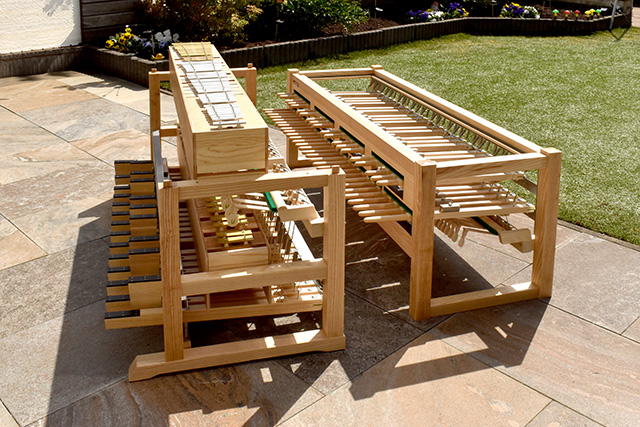
Step 2: Loosen the 4 screws to separate the manual section from the pedal section.
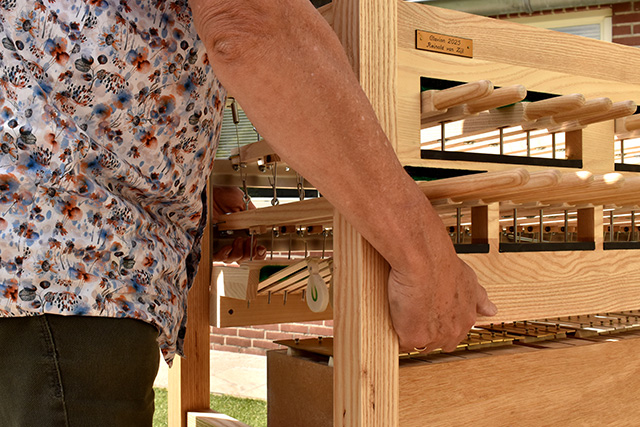
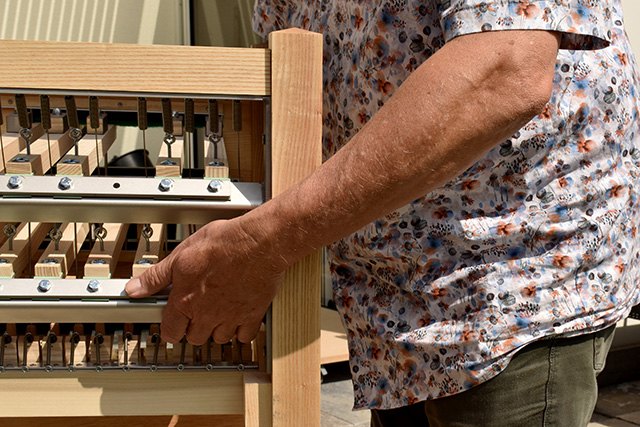
Step 3: Lift the manual section off the pedal section with two people.
Step 4: Place your hands as shown in photos 3 and 4.
.
Step 5: Carefully place the manual section on the ground next to the pedal section.
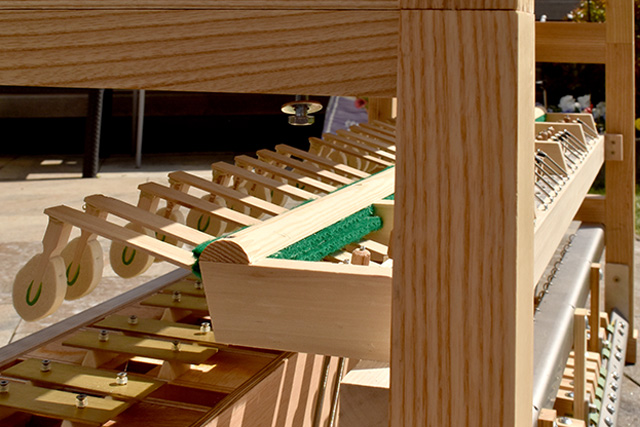
Step 6: At the back of the hammers, there is a wooden nut used to precisely adjust the hammers.
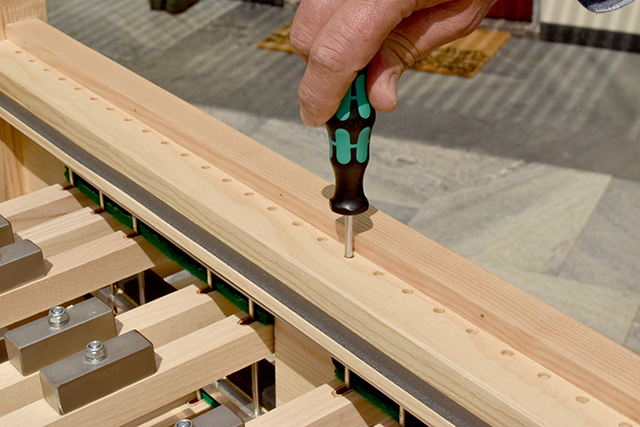
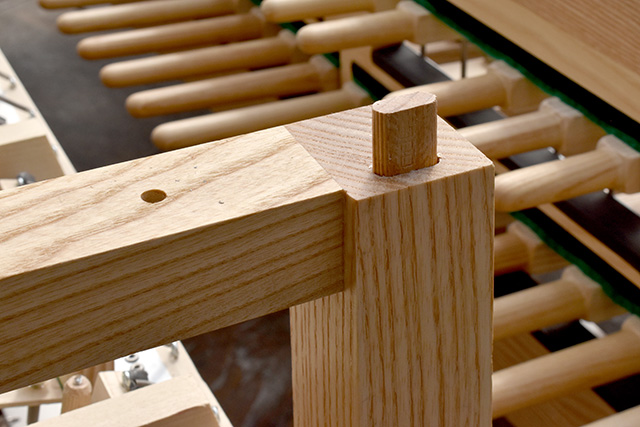
Step 7: If necessary, the rods running through the key can be tightened slightly through the holes at the top.
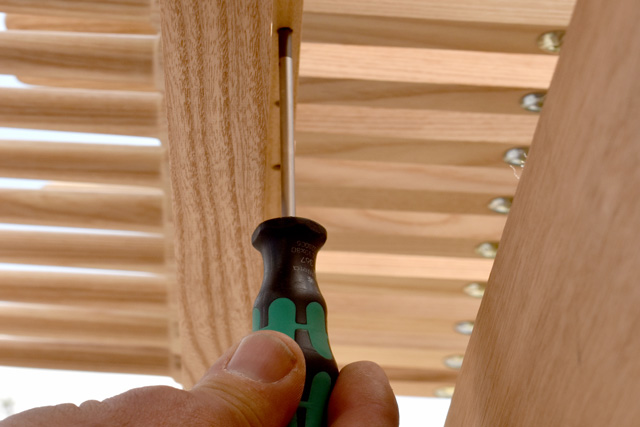
Step 8:If necessary, the rods running through the key can be tightened slightly through the holes at the bottom.
Video-instructions
Video 1: Separate Clavion.
Video 2: Tighten spring
Video 3: Tighten pedal key
Video 4: Hammer is being adjusted
Video 5: Loosen screws
Video 6: Merging pedal and manual.

